During the hot summer months, you might be bored and want to do something to keep you entertained, so why not bake and enjoy a delicious summer dessert? Below you will find a variety of recipes that include campfire treats, frozen desserts, and summer cheesecakes and pies . Some will require cooking but others do not. These are desserts that you can easily make indoors or outdoors. Adult supervision is advised, if under the age of 10.
Campfire treats
1. At-Home S’mores
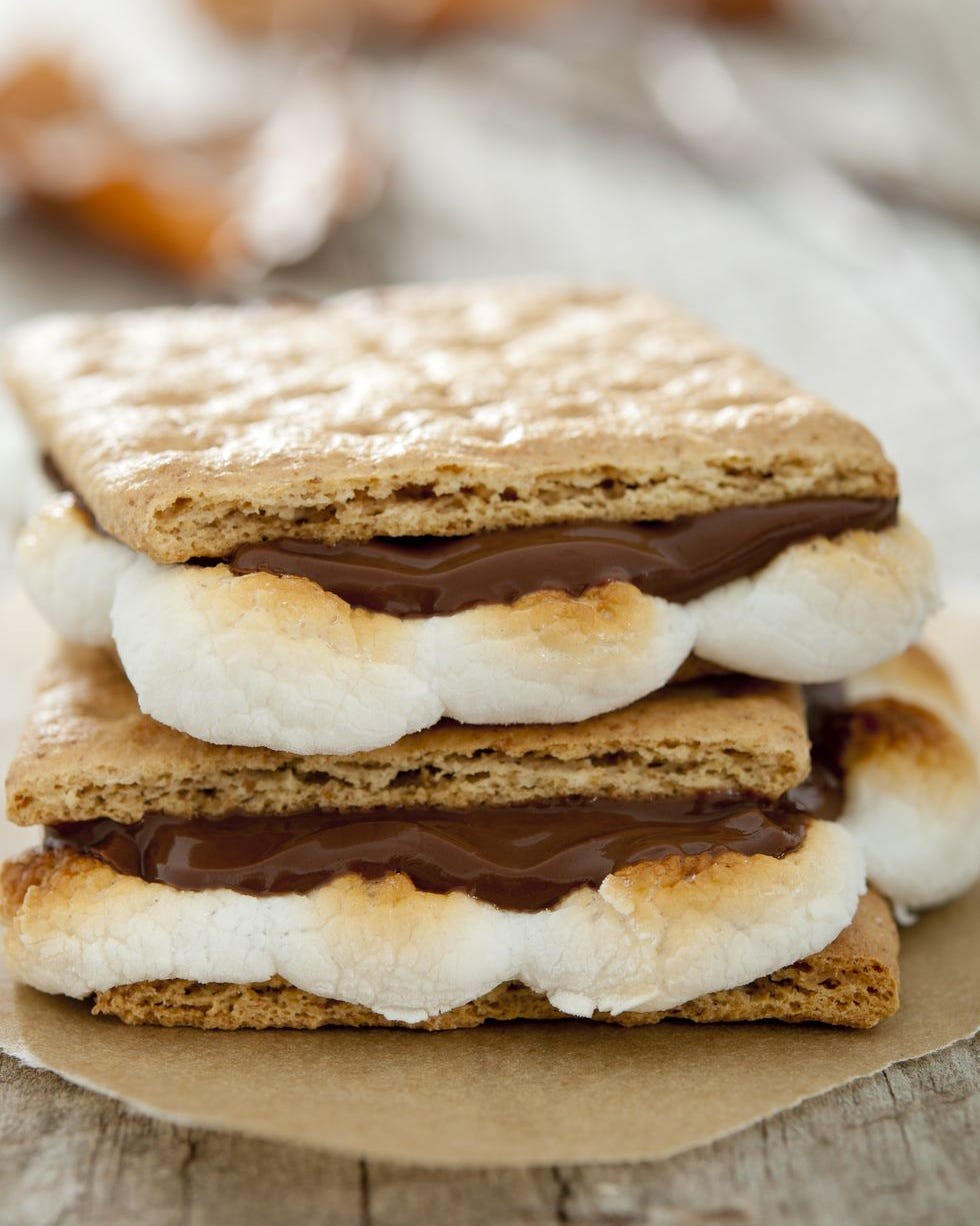
The easy delicious At-Home S’mores are quick to make but do require being cooked on a stove top burner, outdoor grill, or campfire.
Ingredients:
- 8 large marshmallows
- 1 4.4 oz. bar milk chocolate, broken into 8 pieces
- 8 whole graham crackers, broken into squares
Instructions:
- Put a marshmallow on a skewer and set on a stove top, outdoor grill (low heat), or campfire. Carefully turn your skewer over the heat for 1 to 2 minutes until the marshmallow is puffed and brown (but not too brown). Then, you may repeat with the remaining marshmallows.
- With a plate, place 1 or 2 chocolates onto the graham cracker square. On the plate, carefully take the marshmallow off the sewer and place it on top of the graham (carefully as it could get messy). Then grab another graham cracker and place it on top of the marshmallow; you can add another chocolate if needed. Squish it down to melt the marshmallow into the chocolate and enjoy!
1. Campfire Cones

Want something better than a simple S’mores sandwich? Then make a delicious Campfire Cone! It can be easily made by both adults and kids! It is also a great outdoor treat when having a campfire.
Ingredients:
- If you want, you may add chocolate chips, mini marshmallows, graham cracker pieces, M&Ms, mini peanut butter cups, fruit slices, or any of your favorite treats.
- Waffle or sugar cone
Instructions:
- Wrap your waffle cone or sugar cone in foil and toss it in the campfire until ready for you. Then enjoy!
Frozen desserts
2. Neapolitan Ice Cream Bars
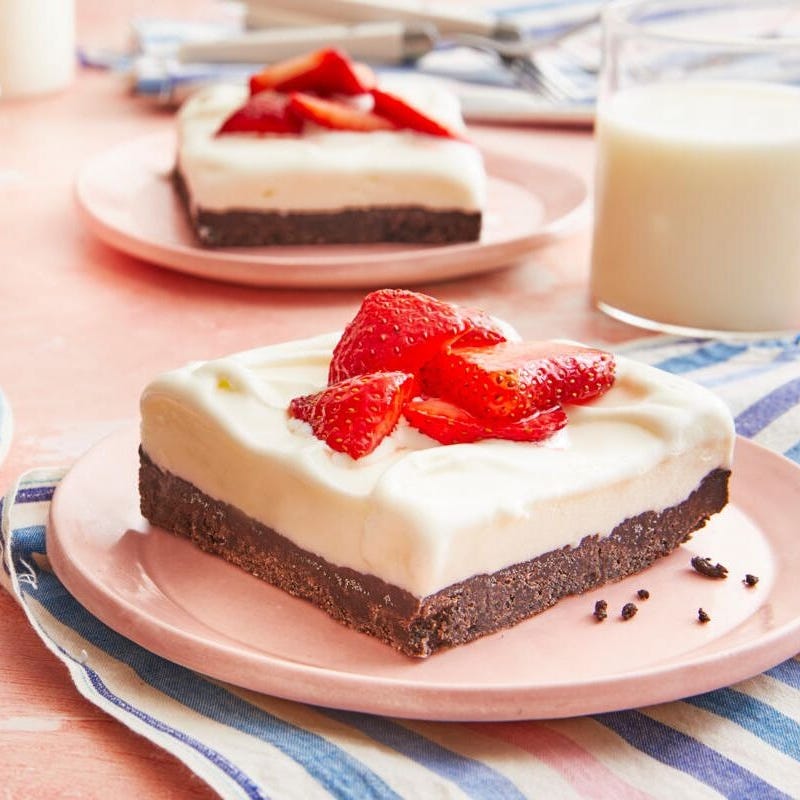
Are your cravings unique when it comes to sweets? If yes, try a Neapolitan Ice Cream Bar! This chocolate cookie base with vanilla cream, ice cream, and strawberries layered on top will have you craving more!
Ingredients:
- 2 9-oz. package of chocolate wafers
- 1 c. melted salted butter
- ¼ c. + 2 tbsp of granulated sugar
- 3 c. sliced fresh strawberries (your choice on how you’d like to slice them)
- Ice cream (any flavor of your choice)
Instructions:
- Combine 2 batches and chocolate wafers in a food processor (blended well and crumbled). Transfer chocolate crumbs into a large bowl and add melted butter and sugar. Stir together until combined and smooth.
- In a 9-by-13-inch pan lined with parchment paper, add the crumb mixture then press until you have an even, thick crust. Freeze for 30 minutes, then take out the freezer and let it sit at room temperature for 30 minutes.
- Add the ice cream to the bowl of a stand mixer (making sure the paddle is attached). Set at a medium-low speed until smooth for about 1 minute.
- Remove the chocolate crust from the freezer and spread the ice cream mixture over the crust. (Make sure it is evened out.) Freeze again until ice cream is firm for about 3 hours or overnight.
- Stir the sliced strawberries and sugar together; let stand at room temperature for 30 minutes. Once you’re ready to enjoy your treat, remove it from the freezer. Cut and serve immediately with the fresh strawberry mixture spooned on top to avoid melting.
Tip:
- Consider using freeze-dried strawberries
2. Homemade Creamsicle Pops

On a hot day, you want something soothing and cold, right? So why not make a yummy and citrusy Creamsicle Pop? This is a combination of vanilla, creamy ice cream and Orange Sherbet.
Ingredients:
- 1 1 ½ container of vanilla ice cream, divided
- 1 c. frozen orange juice
- Red and yellow food coloring (optional)
Instructions:
- With a counter-top blender, blend 4 cups of the vanilla ice cream and frozen orange juice until well combined; then add red and yellow food coloring (if using). Place the remaining 2 cups of ice cream in a medium sized bowl and stir until smooth and spreadable.
- Scoop a 1 ½ tablespoon of the orange mixture into the bottom of 20 (½-cup) Popsicle molds (any mold of your choice). Alternate with the orange mixture and vanilla ice cream until molds are full; make sure to avoid overfilling them. If you would like, you may use a butter knife or Popsicle stick to mix both the vanilla ice cream and orange mixture together.
- Place sticks into Popsicles and freeze until solid (2 to 4 hours) and then take out when ready.
- Once ready, carefully hold the bottom of the mold tray under warm water and wiggle each Popsicle out.
- If any unmolded popsicles are left, wrap them in plastic wrap or foil for up to 1 month.
Summer Cakes and Pies
1. Ice Cream Icebox Cake
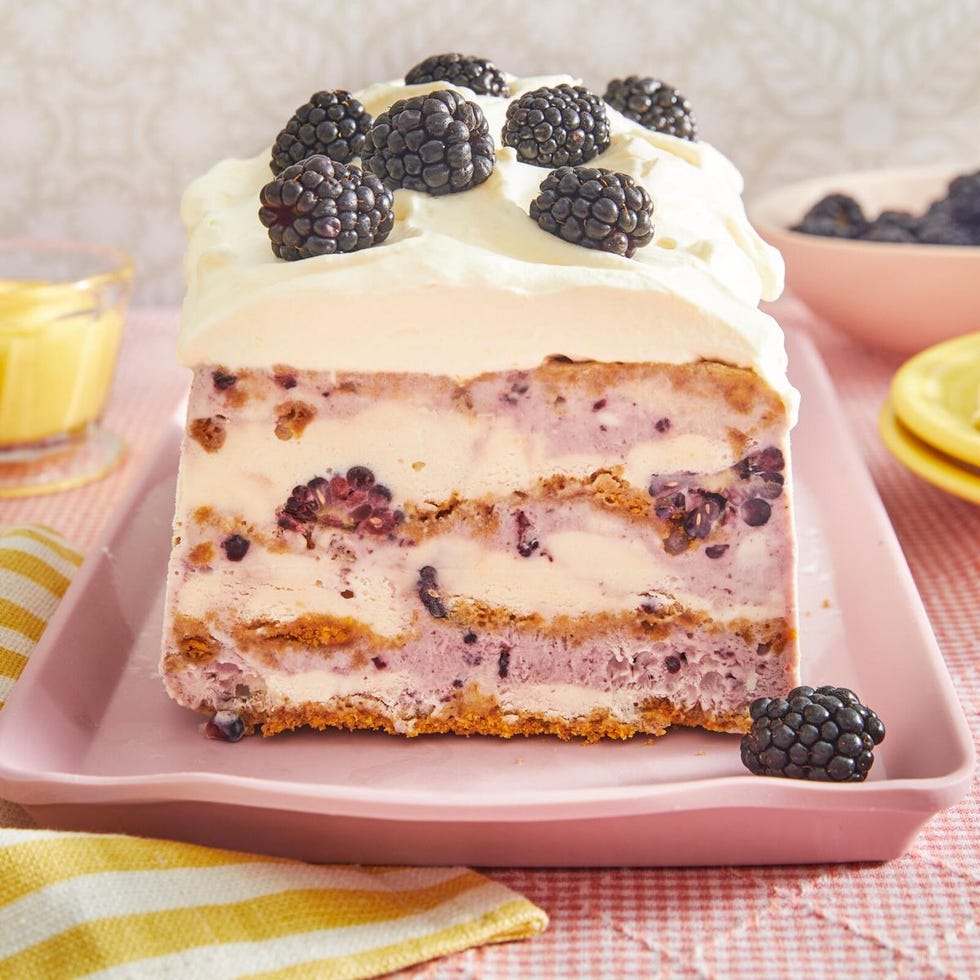
Do you love cake and ice cream and just wish you could combine both? Well, you can with the Ice Cream Icebox Cake. It is simply just a layered cake filled with ice cream!
Ingredients:
- 3 pt. vanilla ice creams, divided and softened
- ¾ c. blackberry preserves
- 1 c. lemon curd, divided
- 2 c. crushed gingersnaps (8 oz.)
- 1 c. fresh blackberries, cut in half and divided
- 1 c. cold heavy whipping cream
- ½ tsp. vanilla extract
Instructions:
- Cover your choice of pan with plastic wrap; make sure the entire pan is covered.
- Scoop 2 pints of the vanilla ice cream into a large bowl. Store until smooth and spreadable. Mix in the blackberry preserves until fully combined. Then, in another bowl (medium sized), scoop the remaining pint of vanilla ice cream and stir until smooth and spreadable. Pour ¼ of the lemon curd on top.
- Quickly, sprinkle the bottom of the prepared loaf pan with ¼ cup of the crushed cookie. Top 1 cup of the blackberry ice cream mixture over the wafers and add ½ cup of the lemon curd ice cream mixture by spreading and smoothing out. Carefully, press 1.3 cup of blackberries into the ice cream. You may choose to repeat; if you do, make sure to end with a final layer of the crushed cookies.
- Freeze cake for 6 hours or up to 1 week after wrapping the loaf pan with plastic wrap.
- Add heavy cream into a large bowl with ½ cup of lemon curd and vanilla extract. With an electric mixer set at medium-high speed, fully firm for 2 to 4 minutes. Cover and keep cold for 1 hour or until ready.
- Remove the Icebox Cake from the freezer with a plastic overhang to remove the cake from the loaf pan and invert it onto a serving platter. You may add lemon whipped cream and top it with berries. Serve and enjoy!
Tips:
- Swap out the blackberries and jam for another berry, like raspberries
- Use store-bought lemon curd
2. Celebration Mug Cake

Don’t have the time to make a big cake? Then make a Celebration Mug Cake! Those sweet tastes of vanilla cake and pretty colors from the sprinkles provide a tasty combination. It can also be made for many occasions, such as birthdays, festivals, weddings, and the Fourth of July!
Ingredients:
- 4 tablespoons (1 ¼ oz/25 g) of all-purpose flour
- 2 tablespoons of sugar
- ½ teaspoon baking powder
- 4 tablespoons (2 fl oz/60 ml) milk or dairy-free milk
- 1 ½ tablespoons vegetable, sunflower, or coconut oil
- ¼ teaspoons vanilla extract (make sure to put the right amount)
- 1 tablespoon funfetti (optional ) sprinkles
Instructions:
- In a microwave safe mug, whisk together the flour, sugar, and baking soda.
- Add in the milk, oil, and vanilla extract, then mix until fully combined together and stir in sprinkles.
- Microwave for 45 seconds or until firm. (To check, place a fork in the cake.) Enjoy!
Tip:
- Serve with frosting or ice cream
3. Atlantic Beach pie
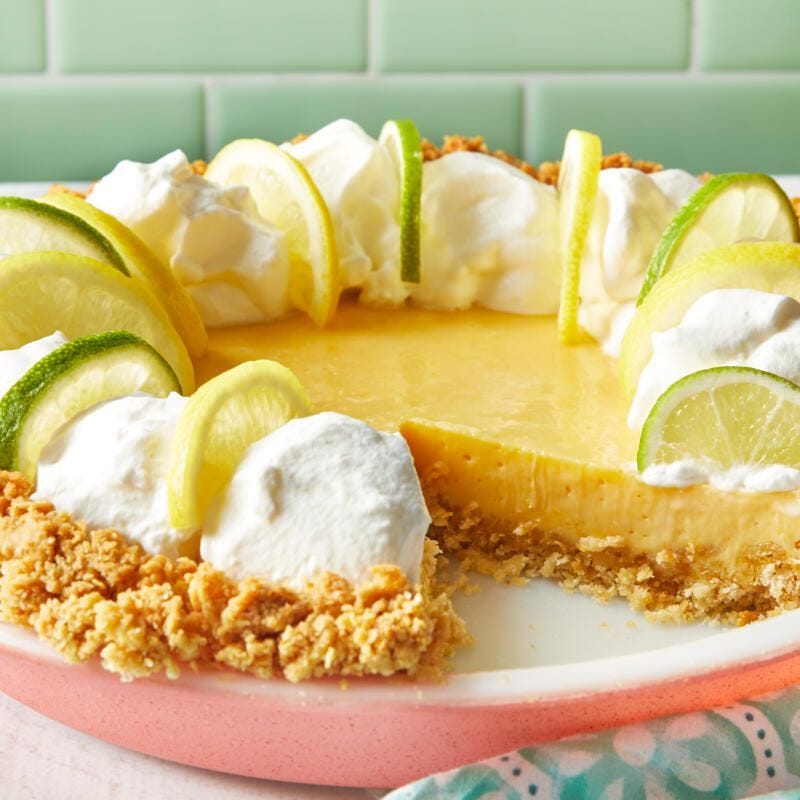
If you enjoy sweet and salty sweets, you will definitely enjoy an Atlantic Beach Pie.
Ingredients:
For the crust
- 6 oz. Saltine Crackers
- ½ c. softened, unsalted butter
- ¼ c. granulated sugar
For the filling
- 14 oz. sweetened condensed milk
- 4 large egg yolks
- ¼ c. lemon juice
- ¼ c. lime juice
For serving
- 2 c. whipped cream or whipped topping
- Lemon and lime slices
Instructions:
- Preheat oven to 350°
For the crust
- Evenly crush the crackers; you should end up with 2 ¼ cups. Combine crushed crackers, butter, and sugar in a medium sized bowl. Mix well until fully combined and the crumbs hold together when pressed with your fingers. Press the crust mixture into the bottom and sides of a 9-rack inch pie pan. Freeze for 10 minutes then bake the crust on the middle rack of the oven for 20 to 25 minutes or until golden brown. When the crust is done, set aside to cool for about 10 minutes.
For the filling
- Whisk the sweetened condensed milk, 4 large egg yolks, lemon juice, and lime juice until smooth and spreadable. Pour the filling into the baked crust then return the pie to the oven and bake until the center filling looks good (about 15 minutes).
4. No-Bake Dulce de Leche Pie
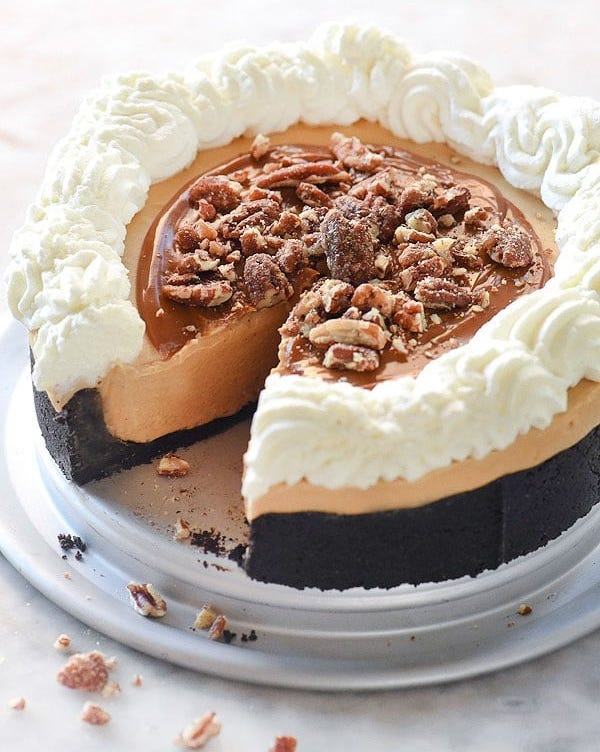
This No-Bake Dulce de Leche Pie is very simple and does not need an oven. It contains white chocolate and a filling of cream cheese with Dulce de Leche caramel. There is also a chocolate cookie crust surrounding the pie.
Ingredients:
For the crust
- 1/14 ounce package of chocolate cookies, like Oreos
For the filling
- 10 ounces of white chocolate chips
- 1 ¼ cups + 5 tablespoons of heavy whipping cream
- 1 cup powder sugar
- 8 ounces of cream cheese (softened at room temperature)
- ¼ cup Dulce de Leche
For the topping
- 1 cup of heavy whipping cream + 2 tablespoons
- ¼ cup of Dulce de Leche
- ½ cup of honey vanilla bourbon pecans (chopped up)
Instructions:
For the crust
- Prepare an 8-inch pan with cooking spray; make sure to wipe the sides with a paper towel. Mix the cookies with the frosting in a food processor until finely chopped. Microwave the butter (in a microwave safe bowl) for 30 seconds until melted. Pour the cookie crumbs into a bowl and drizzle the melted butter on top. Stir until there are no crumbs left over then pour the crumbs into the pan and carefully make sure it is pressed firmly to the bottom and sides to create a thick crust.
For the filling
- Whisk what is in the mixing bowl for 5 to 10 minutes to chill.
- Meanwhile, combine the white chocolate and 5 tablespoons of heavy whipping cream into a microwave safe bowl (microwave-safe bowl). Microwave at 50% power for 60 to 90 seconds until chocolate starts to melt. Then, until the chocolate is completely smooth, set aside for 10 to 15 minutes.
- For the whipped cream, pour the remaining 1 ¼ cups of whipping cream in the chilled mixing bowl; mix with an electric mixer on medium-high speed until it gets bubbly. Add the powdered sugar slowly and continue mixing on high seed until a good form is set. Put aside.
- Mix the cream cheese on medium-high speed for 2 to 3 minutes until it is fluffy and light. (Scrape down the sides of the bowl occasionally.) Slowly, pour into the melted white chocolate and mix on low speed until the chocolate and cream cheese are well mixed.
For the topping
- Prepare 1 cup of the whipped cream that was made. Microwave the Dulce de Leche and 2 tablespoons of whipped cream into a microwave safe bowl for 30 seconds. When done, stir well to combine and allow to cool until just warm. Spread in a circular motion in the center of the pie. Use a large stir pipe for the whipped cream border on the outside edges of the pie. Sprinkle the chopped pecans over the Dulce de Leche in the center of the pie. Refrigerate until ready to serve, then enjoy!
Entertaining is a pivotal part of the summer! These sweet treats are sure to please all crowds!
Work Cited


